The Mereka Connect community consists of unique organizations and businesses who have a multitude of services to offer to the world and require a one-stop solution that would help them manage their resources effectively. Bearing that in mind, our team has created an intuitive mission control center referred to as the Hub dashboard for Hubs to customize their settings, manage their services, control finances, invite team members and more!
In this article, we provide a general overview of what your Hub dashboard looks like and which sections it contains. To access the dashboard features, you first need to complete the Hub onboarding form – learn how to do this here.
Getting started
If you have just filled in your Hub profile, you would be redirected to the “Overview” section of the Hub dashboard automatically.
If you have logged out of Mereka Connect, you should log in on the homepage by clicking “Get Started” with the same credentials you used to create your Hub profile.
To access the dashboard, click the button which contains your Hub’s name at the top right corner of the screen. If you have access to more than one Hub, the button would be labeled as “Hub Dashboard” and open a dropdown menu for you to select your preferred Hub.
Overview
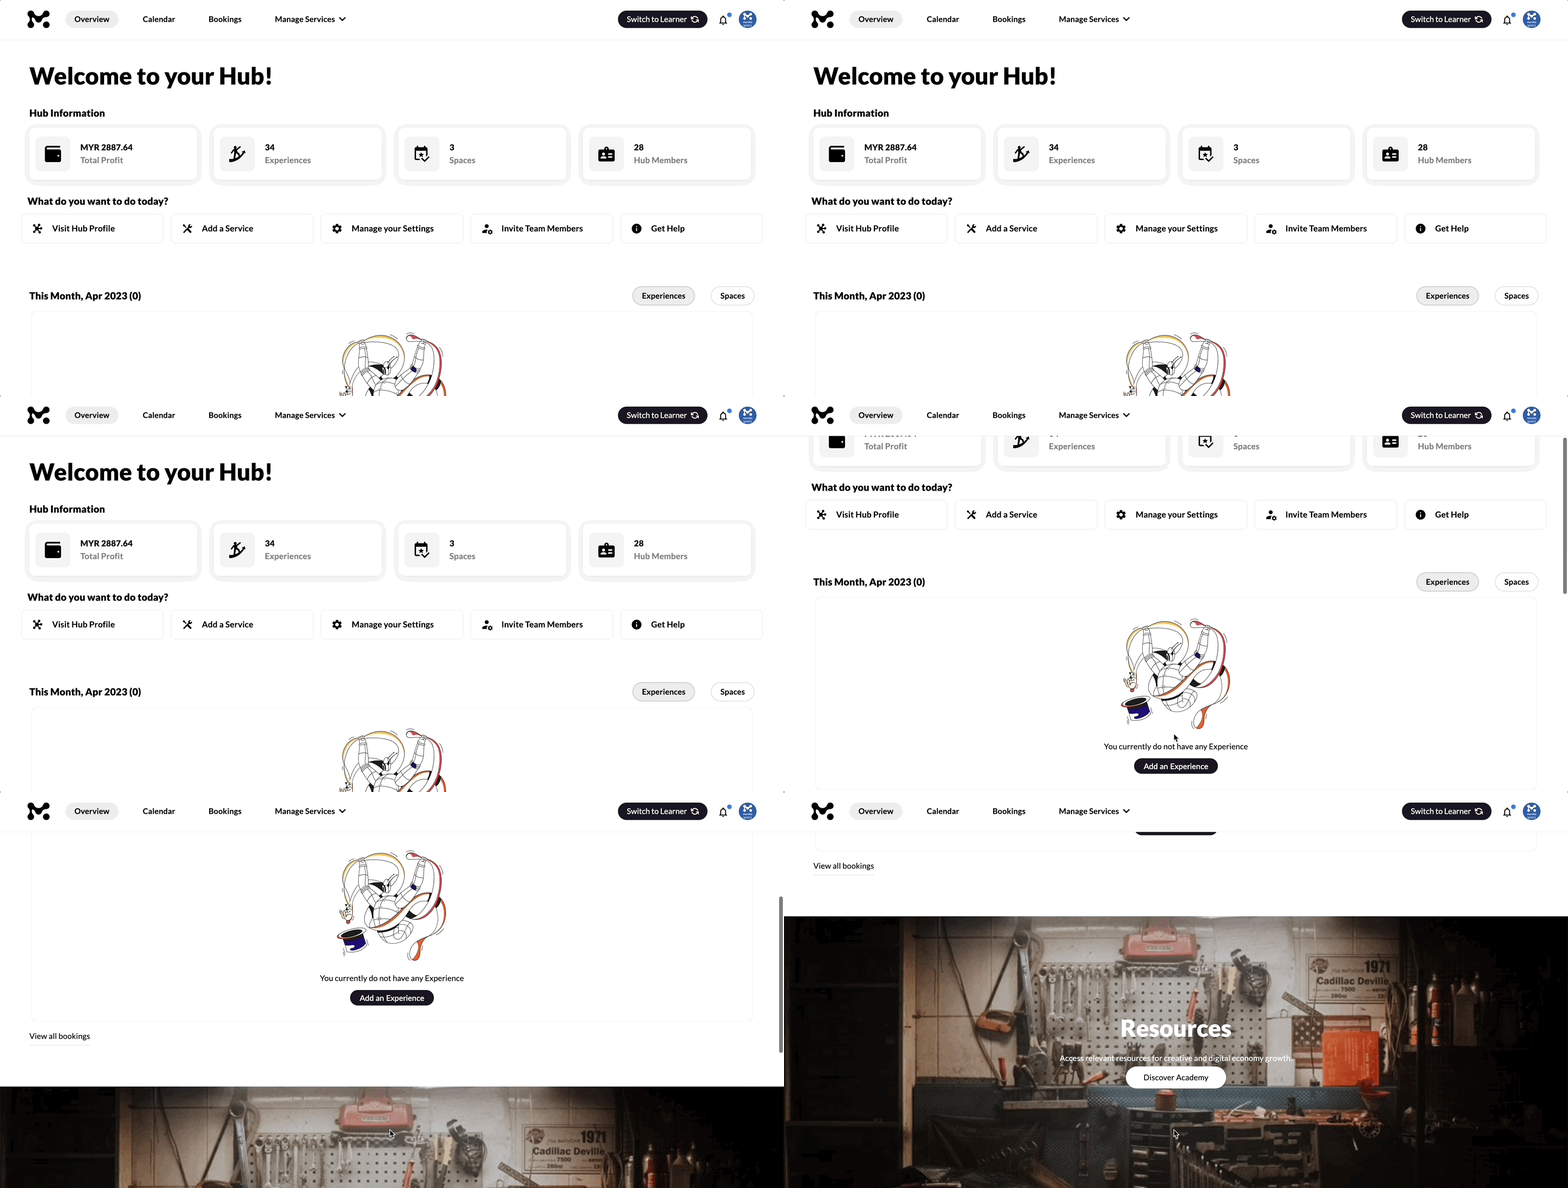
This section of the Hub dashboard provides quick access to all the data and features needed to manage your Hub on a daily basis.

The “Hub Information” subsection highlights the total profit made to date, the number of services listed, as well as the number of current members.
“What do you want to do today?” provides quick links to your Hub profile page and settings, and enables you to list services, invite team members and get instant help with just one click!
The bookings table allows you to take a glance at the upcoming bookings of your services (Experiences or Spaces).
Finally, the Resources subsection is a quick and easy way for you to access Mereka Connect’s free resources for growing and upscaling your creative business.
Calendar
Mereka Connect boasts a built-in calendar feature that allows you to efficiently schedule your Experiences and Spaces, better visualize your upcoming bookings and understand which services perform better than the others with the use of colors:
Red = no bookings
Yellow = partially booked / low bookings
Blue = mostly booked (more than 50% of the seats)
Green = fully booked
You can also block certain dates based on the service host’s availability to ensure no bookings are received on these dates and to avoid rescheduling.
Bookings
This section of the dashboard provides an overview of all your upcoming, past and canceled bookings in the form of a table. Here you can:
retrieve your user’s data (name, email and phone number) for easier communication
export the bookings data in the form of a CSV file which can be viewed via Microsoft Excel or Google Sheets
send important announcements to all users who booked a particular service
cancel any upcoming session if necessary
Manage Services
This is the place where you can manage all your Experience and Space listings. You can also upload new listings by clicking the “Offer services” option in the dropdown menu, or the “Add an Experience” / “Add a Space” button in each section respectively.
You can perform various actions with your listings such as:
editing by clicking the 3 dots → “Manage Listing”. Please note that in order to edit an Experience you need to click the black “Edit Experience” button at the top right corner of the page.
viewing and sharing the service’s page
featuring/un-featuring your services
unlisting your services if necessary
exporting and embedding your listings
Hub Profile
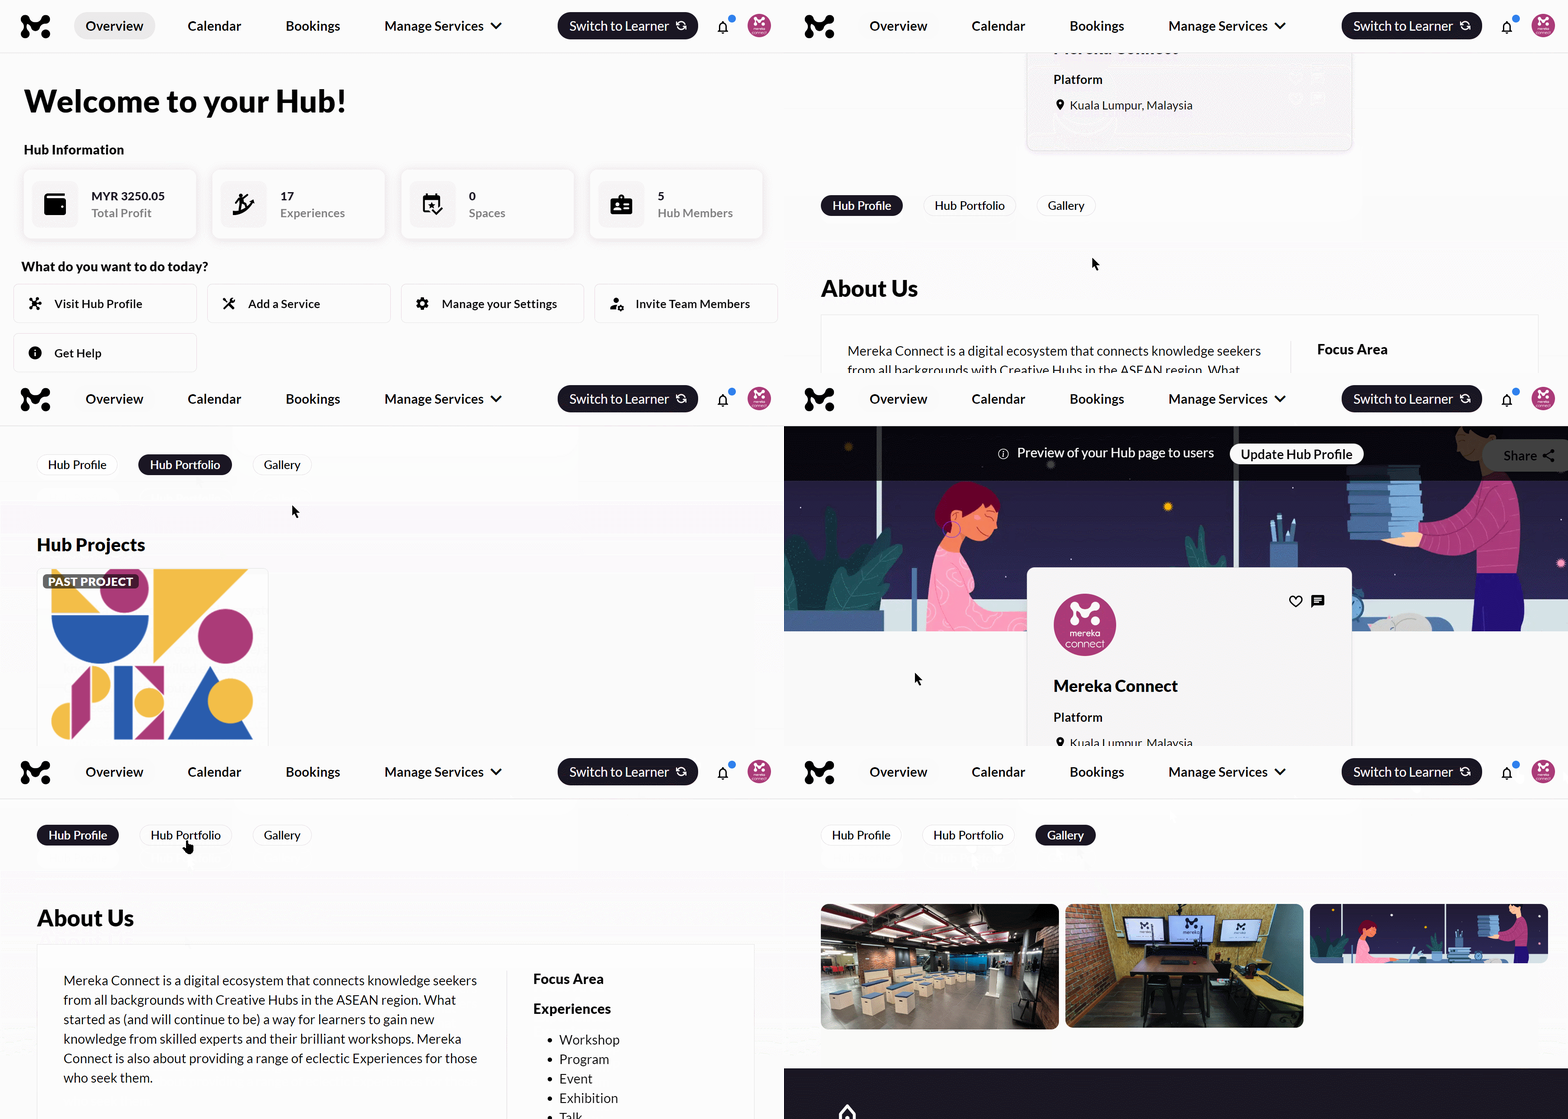
To view your Hub profile page, navigate to your user icon at the top right corner of the screen and click “Hub Profile”. Alternatively, click the “View Hub Profile” tab in the “Overview” section of the dashboard, or click the “Hub’s Profile” quick access card in the “Account” section of the Settings.
It is possible to edit the profile anytime by clicking the “Update Hub Profile” button below the top navigation bar.

The Hub profile essentially reflects all the details you’ve inputted in the Hub onboarding form and is visible to the public once approved by our team. All active and past services offered by your Hub are also displayed on this page.
Settings
This is one of the most crucial sections of the Hub dashboard where you can:
control your Hub’s finances
manage subscriptions
invite team members and assign roles
To access the “Settings” section, navigate to your user icon at the top right corner of the screen and click “Settings” in the dropdown menu. Alternatively, you can click the “Manage your Settings” tab in the “Overview” section of the dashboard.
If you have any further questions or would like to speak to a member of our team, please contact us via team@mereka.io.