The Attendance recording feature allows you to check in participants of your Experiences seamlessly. There are two ways to access the Attendance page:
- If you have any upcoming Experiences for the month, scroll down on the Overview page and click the 3 dots below “Action” to open the dropdown menu. Then, click “Attendance”.
- Or, click on the Bookings tab and head to the 3 dots below ‘Action’ to trigger the dropdown and click on the ‘Attendance’ button. In this Bookings page, you will be able to mark the attendance of Experiences that have passed as well.
* Please note that attendance can only be recorded within 3 hours of the Experience start time
You can check in participants for group bookings by clicking ‘Check in all’, or for individual bookings by clicking ‘Check in’. You can also select multiple bookings using the checkboxes and click ‘Check in all’ at the top to do a mass check in.
To filter the attendance view, use the ‘Not Checked In’ and ‘Checked In’ tabs on the left-hand side. There is also a notes feature just in case you need to jot some things down!
If you need to find a specific participant quickly, use the search bar to narrow down the list to matching results. If no matches are found, a message will be displayed.
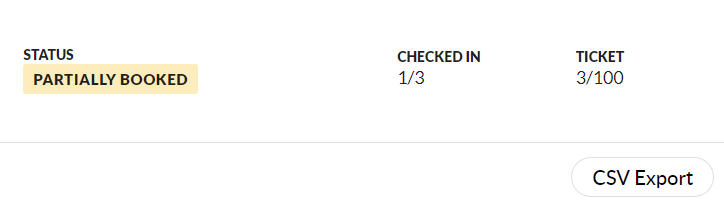
If you need to export the attendance list to a CSV, simply click the “CSV Export” button in the top right corner. You can also track the number of attendees who have checked in using the “CHECKED IN” and “TICKET” counters displayed at the top.
That’s everything you need to know about the attendance recording feature. We hope you find it useful and if you have any issues please do reach out to us via team@mereka.io